Keyestudio 16 Kanal Servo Motor Sürücü Shield
Tanıtım
Robot deneyleri yaparken, birden fazla PWM kullanması gerekir Ancak, yaygın olarak kullanılan Arduino UNO R3 sadece 6 PWM portuna sahiptir, gerçekten yeterli değildir. Bu, bunu kullanmanızı sağlar Arduino UNO R3 kartında doğrudan istiflenen genişletme kartı. 16 servoya kadar sürebilir ve A4 ve A5 pimlerini işgal eden I2C girişini kullanabilir UNO.
Kalkan ayrıca, prototipleme devreleri oluşturmak için bileşenlerle lehimlemek için kullanılabilen PCB çift taraflı deliklerle birlikte gelir.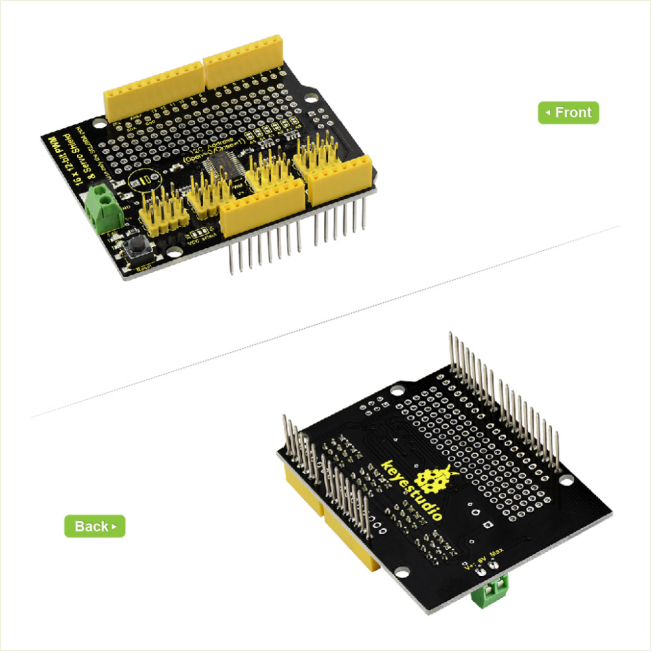
Özellikler
- I2C girişi, 16 kanallı PWM çıkışını kontrol etme
- Servo güçten bağımsız giriş V +, 6V'a kadar.
- Mantık sinyali ve mantık gücü bağımsız çıkış 3-5V
- Frekans: 40-1000Hz
- Kanallar: 16 kanal
- Çözünürlük: 12 bit
AYRINTILAR
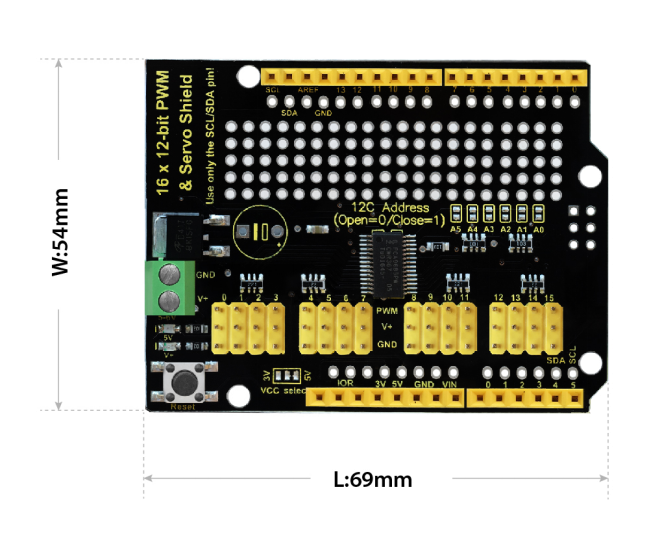
- Boyutlar: 69mm x 54mm x 24mm
- Ağırlık: 20g
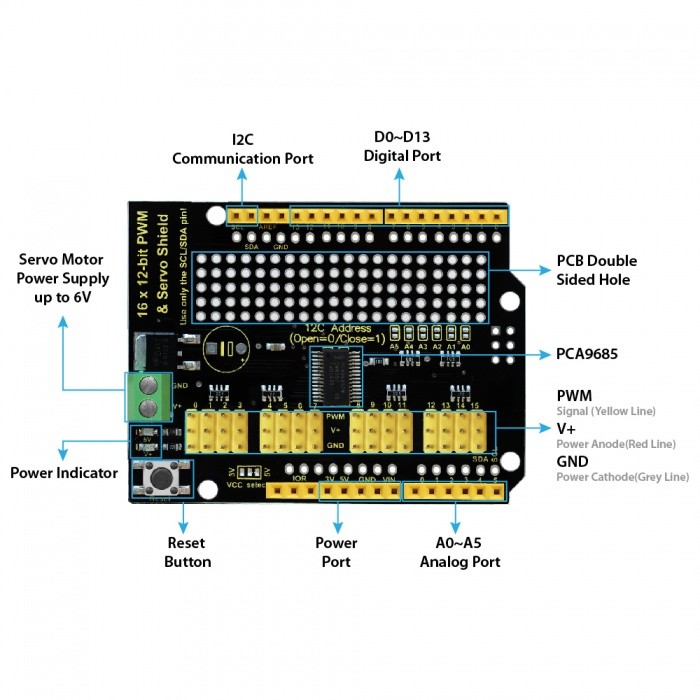
Arayüz Açıklaması
Basit Bağlantı Şeması
Kalkanı üzerine yerleştirinUNO R3 board . 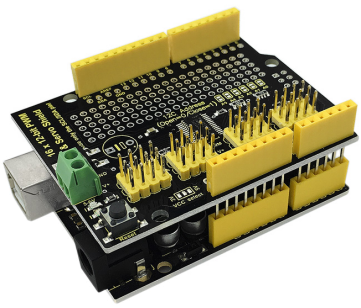
Örnek Kod
Note: Before compile the code, do remember to add the libraries inside the libraries folder of Arduino IDE.
/*************************************************** This is an example for our keyestudio 16-channel PWM & Servo driver PWM test - this will drive 16 PWMs in a 'wave' These displays use I2C to communicate, 2 pins are required to interface. For Arduino UNOs, thats SCL -> Analog 5, SDA -> Analog 4 keyestudio invests time and resources providing this open source code, please support keyestudio and open-source hardware by purchasing products from keyestudio ! ****************************************************/ #include#include // called this way, it uses the default address 0x40 Adafruit_PWMServoDriver pwm = Adafruit_PWMServoDriver(); // you can also call it with a different address you want //Adafruit_PWMServoDriver pwm = Adafruit_PWMServoDriver(0x41); void setup() { Serial.begin(9600); Serial.println("16 channel PWM test!"); // if you want to really speed stuff up, you can go into 'fast 400khz I2C' mode // some i2c devices dont like this so much so if you're sharing the bus, watch // out for this! pwm.begin(); pwm.setPWMFreq(1600); // This is the maximum PWM frequency // save I2C bitrate uint8_t twbrbackup = TWBR; // must be changed after calling Wire.begin() (inside pwm.begin()) TWBR = 12; // upgrade to 400KHz! } void loop() { // Drive each PWM in a 'wave' for (uint16_t i=0; i<4096; i += 8) { for (uint8_t pwmnum=0; pwmnum < 16; pwmnum++) { pwm.setPWM(pwmnum, 0, (i + (4096/16)*pwmnum) % 4096 ); } } }
Test Sonucu
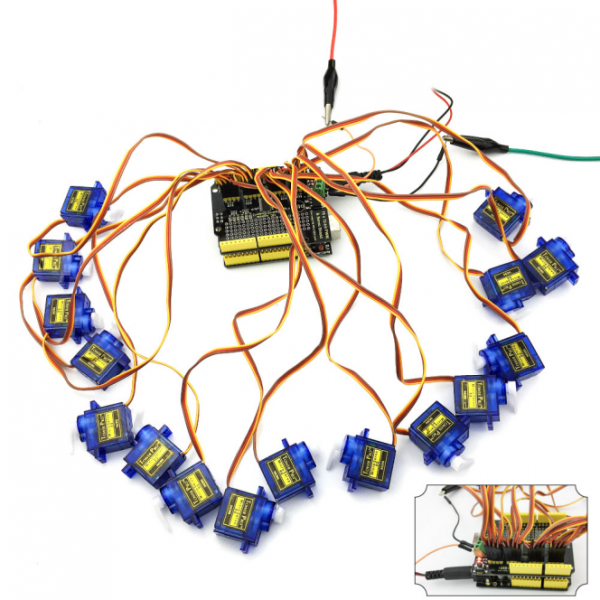
Yukarıdaki kodu UNO R3'e yüklemesi tamamlandı. Sonra 16 servo motoru bağlayın Aşağıda gösterildiği gibi, sonunda 16 servonun art arda döndüğünü görmelisiniz.
Kaynaklar
Download the PDF file here:
https://drive.google.com/open?id=1BWn5NOc75E-EQfdVnPd8ITZzzChUecSY
Download the code here:
https://drive.google.com/open?id=1YDzJsMsh73CfSdYTp9wnSdedQanG6fzj
Download all the libraries here:
https://drive.google.com/open?id=1uSpbRoHXHS3WPgWmKU0ex4NOjDMh0Z5j


