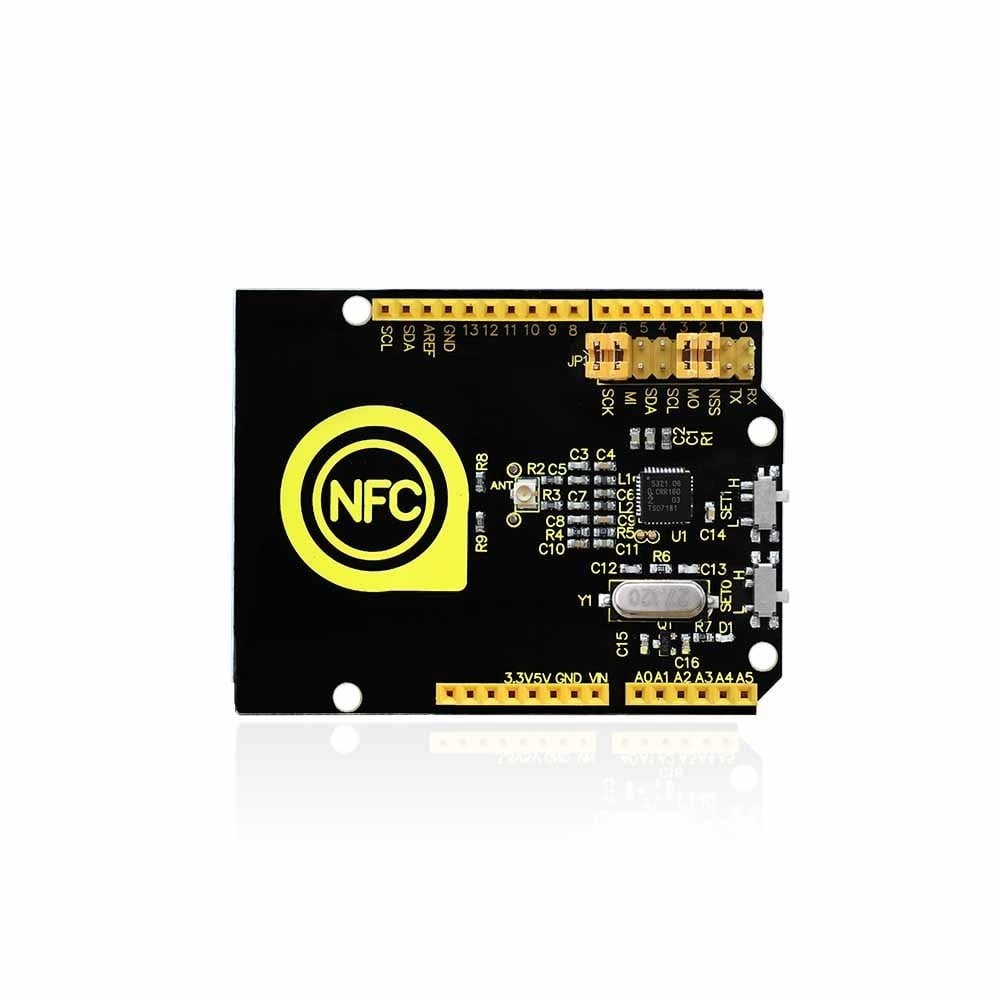
Keyestudio PN532 NFC/RFID Denetleyici Shield (UNO R3 İçin)
Contents (Hızlı Menü)
Tanıtım
PN532 yongasına dayanan Keyestudio PN532 NFC / RFID Denetleyici Kalkanı 13.56MHz'e yakın alan iletişimi için kullanılır. Bu kalkan yerleşik bir antenle donatılmıştır, bu nedenle harici anten bobini yoktur. İletişim kurmak için SPI, IIC, UART arayüzü ile uyumludur. Kullanırken, doğrudan UNO R3 kontrol kartına istifleyin.
Özellikler
Çip: NXP PN532
Çalışma Gerilimi: 3.3V
Güç Gerilimi: 3.3 ~ 5.5V
Maksimum Güç Akımı: 150mA
Çalışma Akımı (bekleme modu): 100 mA
Çalışma Akımı (yazma modu): 120 mA
Çalışma Akımı (okuma modu): 120 mA
İşaretçi: PWR
En uzun etkili iletişim mesafesi 2,4 cm
SPI, IIC, UART arayüz anahtarlamasını destekleyin.
13.56M temassız iletişim için kullanılabilir.
ISO14443 TİP A ve B standardı ile uyumludur.
Details / Ayrıntılar
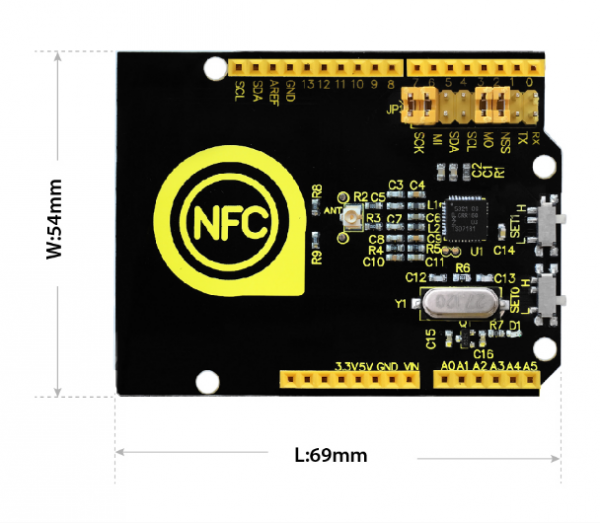
- Boyut: 69mm x 54mm x 24mm
- Ağırlık: 18.3g
Interface Explanation / Arayüz Açıklaması
Interface Control / Arayüz Kontrolü
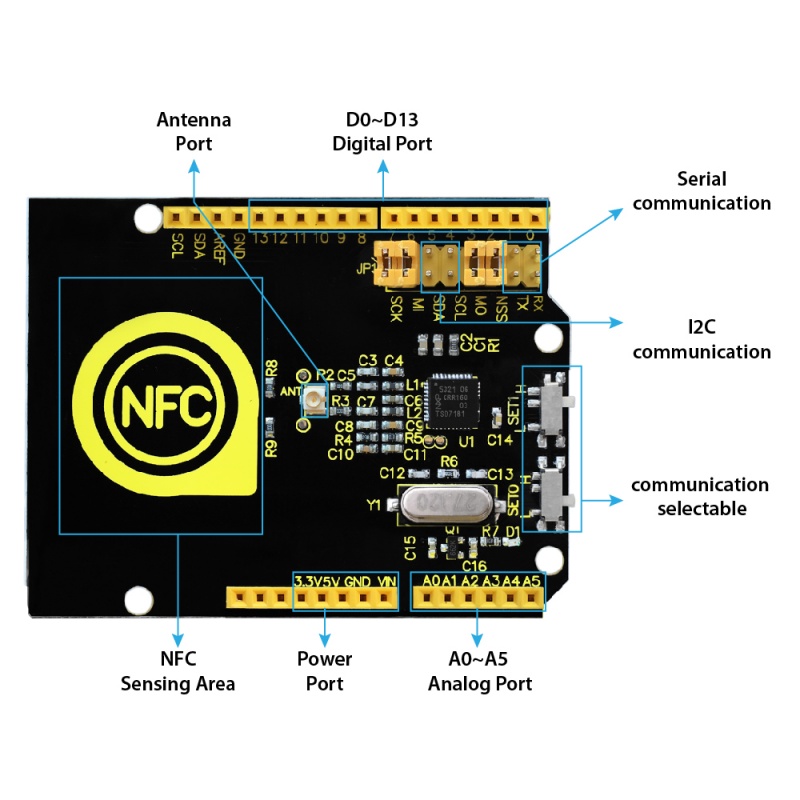
There are two slide switches on the shield for you to select the interface mode:
| SET0 | SET1 | |
|---|---|---|
| UART | L | L |
| SPI | L | H |
| IIC | H | L |
Simple Hookup / Basit Bağlantı Şeması
Simply stack the shield onto UNO R3 board .
It uses SPI communication. Connect SCK, MI, MO and NSS on the shield with jumper cap. Then slide SET0 to L, SET1 to H. 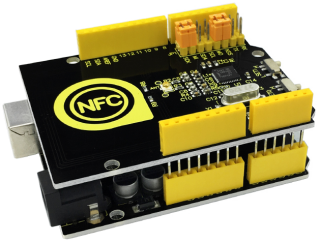
Sample Code / Örnek Kod
- Copy and paste the code below to Arduino IDE .
- Or click here to download the code.
- Click here to download the libraries PN532.h and SPI.h
Note: Before compile the code, do remember to add the libraries inside the libraries folder of Arduino IDE.
//This example reads a MIFARE memory block. It is tested with a new MIFARE 1K cards. Uses default keys. //Contributed by Seeed Technology Inc (www.seeedstudio.com) #include#include /*Chip select pin can be connected to D10 or D9 which is hareware optional*/ /*if you the version of NFC Shield from SeeedStudio is v2.0.*/ #define PN532_CS 10 PN532 nfc(PN532_CS); #define NFC_DEMO_DEBUG 1 void setup(void) { #ifdef NFC_DEMO_DEBUG Serial.begin(9600); Serial.println("Hello!"); #endif nfc.begin(); uint32_t versiondata = nfc.getFirmwareVersion(); if (! versiondata) { #ifdef NFC_DEMO_DEBUG Serial.print("Didn't find PN53x board"); #endif while (1); // halt } #ifdef NFC_DEMO_DEBUG // Got ok data, print it out! Serial.print("Found chip PN5"); Serial.println((versiondata>>24) & 0xFF, HEX); Serial.print("Firmware ver. "); Serial.print((versiondata>>16) & 0xFF, DEC); Serial.print('.'); Serial.println((versiondata>>8) & 0xFF, DEC); Serial.print("Supports "); Serial.println(versiondata & 0xFF, HEX); #endif // configure board to read RFID tags and cards nfc.SAMConfig(); } void loop(void) { uint32_t id; // look for MiFare type cards id = nfc.readPassiveTargetID(PN532_MIFARE_ISO14443A); if (id != 0) { #ifdef NFC_DEMO_DEBUG Serial.print("Read card #"); Serial.println(id); #endif uint8_t keys[]= { 0xFF,0xFF,0xFF,0xFF,0xFF,0xFF }; if(nfc.authenticateBlock(1, id ,0x08,KEY_A,keys)) //authenticate block 0x08 { //if authentication successful uint8_t block[16]; //read memory block 0x08 if(nfc.readMemoryBlock(1,0x08,block)) { #ifdef NFC_DEMO_DEBUG //if read operation is successful for(uint8_t i=0;i<16;i++) { //print memory block Serial.print(block[i],HEX); Serial.print(" "); } Serial.println(); #endif } } } delay(500); }
Note: Before compile the code above, do remember to add the libraries inside the libraries folder of Arduino IDE.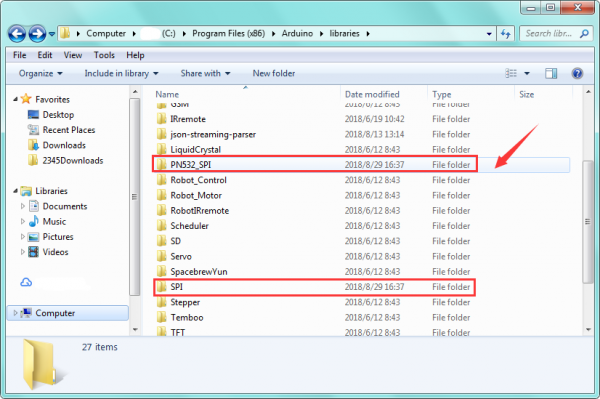
Test Result / Test Sonucu
Done uploading the above code, open the serial monitor.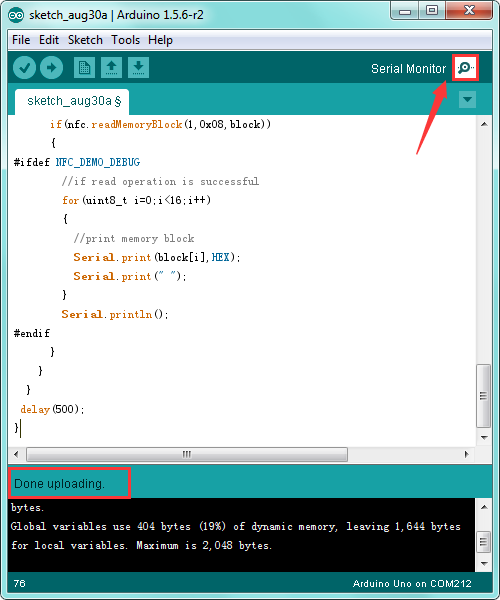
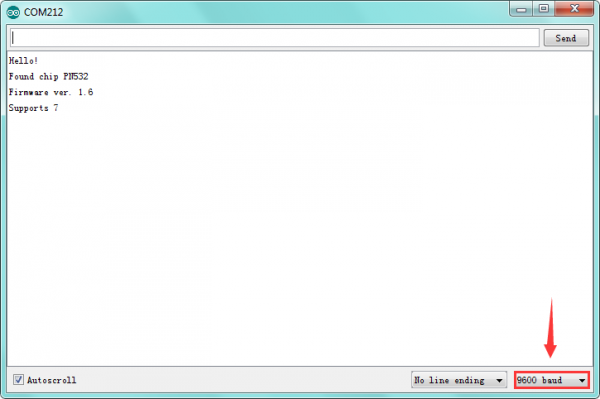
Then respectively use S50 white card and key chain to test the shield, you will get the information shown below.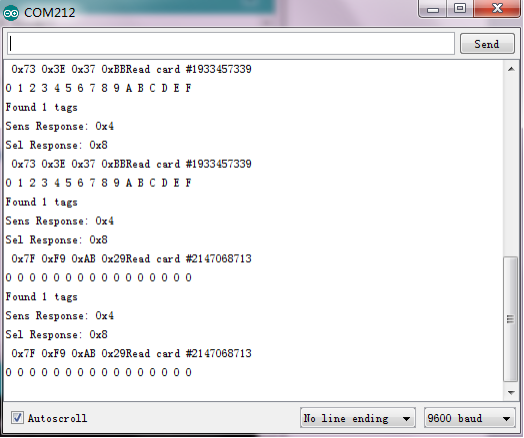
Resources / Kaynaklar
Download the PDF:
https://drive.google.com/open?id=1c96oFlawsJ3k-vWRw6Gkzhc3mhX13sZf
Download the code:
https://drive.google.com/open?id=1_iMEuSfUs63LtBlmL5ZnWWNIwk95Yyns
Get the libraries PN532.h and SPI.h
https://drive.google.com/open?id=1sP1TKdzJ1Ia_kCsPey7d7aFXGOIj8F2q


