Keyestudio Yeni Başlayanlar için Sensör Seti - K1
1.280,69 TL
Kategori
Marka
Stok Kodu
Ks0178
136,65 TL den başlayan taksitlerle!
Keyestudio Yeni Başlayanlar için Arduino Sensör Kiti - K1
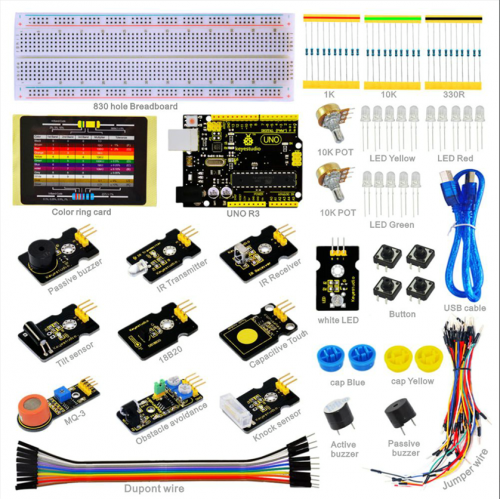
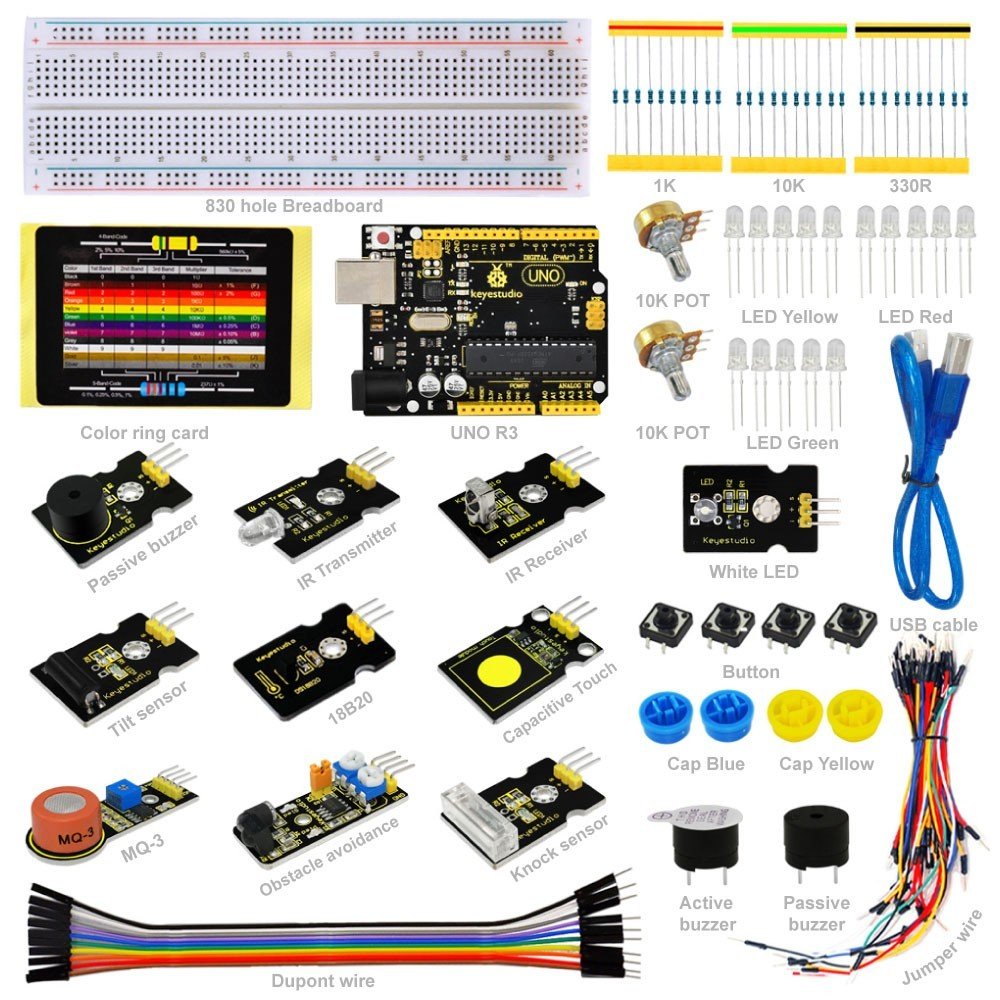
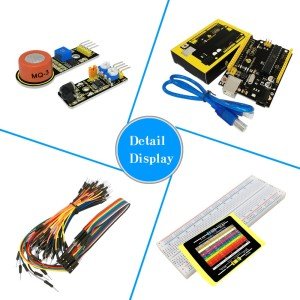
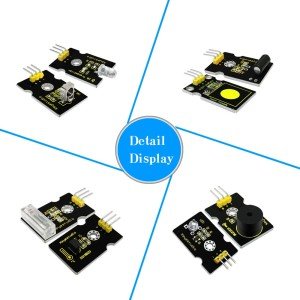
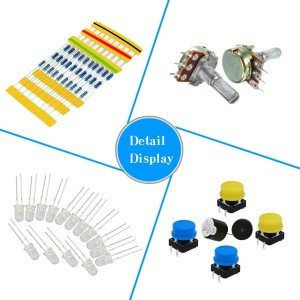
Bileşenler Listesi
| No. | Product Name | Quantity | Picture |
|---|---|---|---|
| 1 | Resistor 330R | 10 | 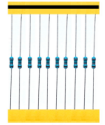 |
| 2 | Resistor 1K | 10 |  |
| 3 | Resistor 10K | 10 |  |
| 4 | LED Red | 5 | 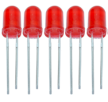 |
| 5 | LED Yellow | 5 |  |
| 6 | LED Green | 5 | 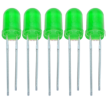 |
| 7 | Potentiometer 10K | 2 |  |
| 8 | Passive buzzer | 1 |  |
| 9 | Active buzzer | 1 |  |
| 10 | Button | 4 | |
| 11 | Button cap Blue | 2 |  |
| 12 | Button cap Yellow | 2 |  |
| 13 | 830-hole Breadboard | 3 |  |
| 14 | Jumper wire | 1*65 | 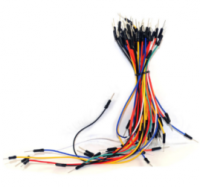 |
| 15 | M-F Dupont wire 20cm | 10 | 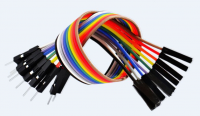 |
| 16 | Resistor color code card | 1 | 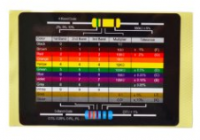 |
| 17 | KEYESTUDIO UNO | 1 |  |
| 18 | USB cable 0.5m | 1 |  |
| 19 | Digital white LED module | 1 |  |
| 20 | Passive buzzer module | 1 |  |
| 21 | Knock sensor module | 1 |  |
| 22 | Tilt sensor module | 1 |  |
| 23 | 18B20 temperature sensor module | 1 |  |
| 24 | IR Receiver Module | 1 | 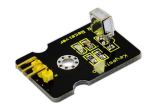 |
| 25 | IR Transmitter Module | 1 |  |
| 26 | Capacitive Touch Sensor module | 1 |  |
| 27 | MQ-3 alcohol sensor module | 1 | 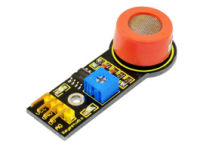 |
| 28 | Obstacle avoidance sensor module | 1 | 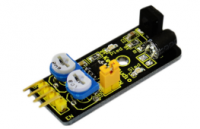 |
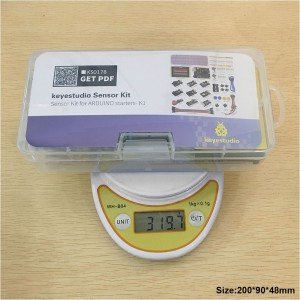
| 29 | Component box | 1 |  |
Proje Detayları
Proje 1: Hello World
Tanıtım
Yeni başlayanlara gelince, basit bir şeyle başlayacağız. Bunda projesinde, yalnızca bir Arduino ve bir USB kablosuna ihtiyacınız var. Dünya! "Deneyi. Bu, Arduino ve PC'nizin bir iletişim testidir, Ayrıca Arduino'yu ilk denemeniz için bir primer projesi dünya!
Donanım gerekli Arduino Kart *1
USB cable *1
Örnek program Arduino için sürücü yükledikten sonra Arduino yazılımını açalım ve Arduino'nun "Merhaba Dünya!" senin altında talimat. Tabii ki, Arduino'nun kodunu sürekli olarak echo "Merhaba Dünya!" talimat olmadan. Basit bir If () ifadesi talimat hile yapmak. Yerleşik LED pim 13'e bağlıyken, Arduino bir talimat aldığında önce LED'in yanıp sönmesini söyleyebilir ve sonra "Merhaba Dünya!" yazdırın.
int val;//define variable val
int ledpin=13;// define digital interface 13
void setup()
{
  Serial.begin(9600);// set the baud rate at 9600 to match the software set up. When connected to a specific device, (e.g. bluetooth), the baud rate needs to be the same with it.
  pinMode(ledpin,OUTPUT);// initialize digital pin 13 as output. When using I/O ports on an Arduino, this kind of set up is always needed.
}
void loop()
{
  val=Serial.read();// read the instruction or character from PC to Arduino, and assign them to Val.
  if(val=='R')// determine if the instruction or character received is "R”.
  {  // if it’s "R”,
    digitalWrite(ledpin,HIGH);// set the LED on digital pin 13 on.
    delay(500);
digitalWrite(ledpin,LOW);// set the LED on digital pin 13 off.
 delay(500);
    Serial.println("Hello World!");// display"Hello World!”string.
  }
}
Bu ürüne ilk yorumu siz yapın!

