




-
 Hızlı Kargo
-
 Güvenilir Alışveriş
h2>Contents (Hızlı Menü)
- 1 keyestudio Advanced Study Kit for Arduino / Arduino Gelişmiş Çalışma Kiti (UNO R3 Denetleyici ile)
- 2 Kit Introduction / Kit Tanıtımı
- 3 Introduction of keyestudio UNO R3 Board / keyestudio UNO R3 tanıtımı
- 4 Components List / Bileşenler Listesi
- 5 Project Details / Proje Detayları
- 5.1 Project 1: Hello World / Merhaba Dünya
- 5.2 Project 2: LED blinking / Yanıp Sönen LED
- 5.3 Project 3: PWM / PWM
- 5.4 Project 4: Traffic light / Trafik Işığı
- 5.5 Project 5: LED chasing effect / LED Takip Efekti
- 5.6 Project 6: Button-controlled LED / Buton Kontrollü LED
- 5.7 Project 7: Active buzzer / Aktif Buzzer
- 5.8 Project 8: Passive Buzzer / Pasif Buzzer
- 5.9 Project 9: RGB LED / RGB LED
- 5.10 Project 10: Photo resistor / Fotorezistör
- 5.11 Project 11: Flame Sensor / Alev Sensörü
- 5.12 Project 12: LM35 temperature sensor / LM35 Sıcaklık Sensörü
- 5.13 Project 13: Tilt switch / Eğim Kontağı
- 5.14 Project 14: IR remote control / IR Uzaktan Kumanda
- 5.15 Project 15: Analog value reading / Analog Değer Okuma
- 5.16 Project 16: 74HC595 / 74HC595 Yonga
- 5.17 Project 17: 1-digit LED segment display / 1-basamak LED Segment Ekran
- 5.18 Project 18: 4-digit LED segment display / 4-basamak LED Segment Ekran
- 5.19 Project 19: 8*8 LED matrix / 8×8 LED Matriks
- 5.20 Project 20: 1602 LCD / 1602 LCD
- 5.21 Project 21: 9g servo control / 9g Servo Kontrol
- 5.22 Project 22: 5V Stepper Motor / 5V Step Motor
- 5.23 Project 23: PIR Motion Sensor / PIR Hareket Sensörü
- 5.24 Project 24: Analog Gas Sensor / Analog Gaz Sensörü
- 5.25 Project 25: ADXL345 Three Axis Acceleration Module / ADXL345 Üç Eksen Hız Modülü
- 5.26 Project 26: HC-SR04 Ultrasonic Sensor / HC- SR04 Ultrasonik Sensör
- 5.27 Project 27: Joystick Module / Joystick Modülü
- 5.28 Project 28: 5V Relay Module / 5V Röle Modülü
- 5.1 Project 1: Hello World / Merhaba Dünya
- 6 Resources / Kaynaklar
keyestudio Advanced Study Kit for Arduino / Arduino Gelişmiş Çalışma Kiti (UNO R3 ile)

Kit Introduction / Kit Tanıtımı
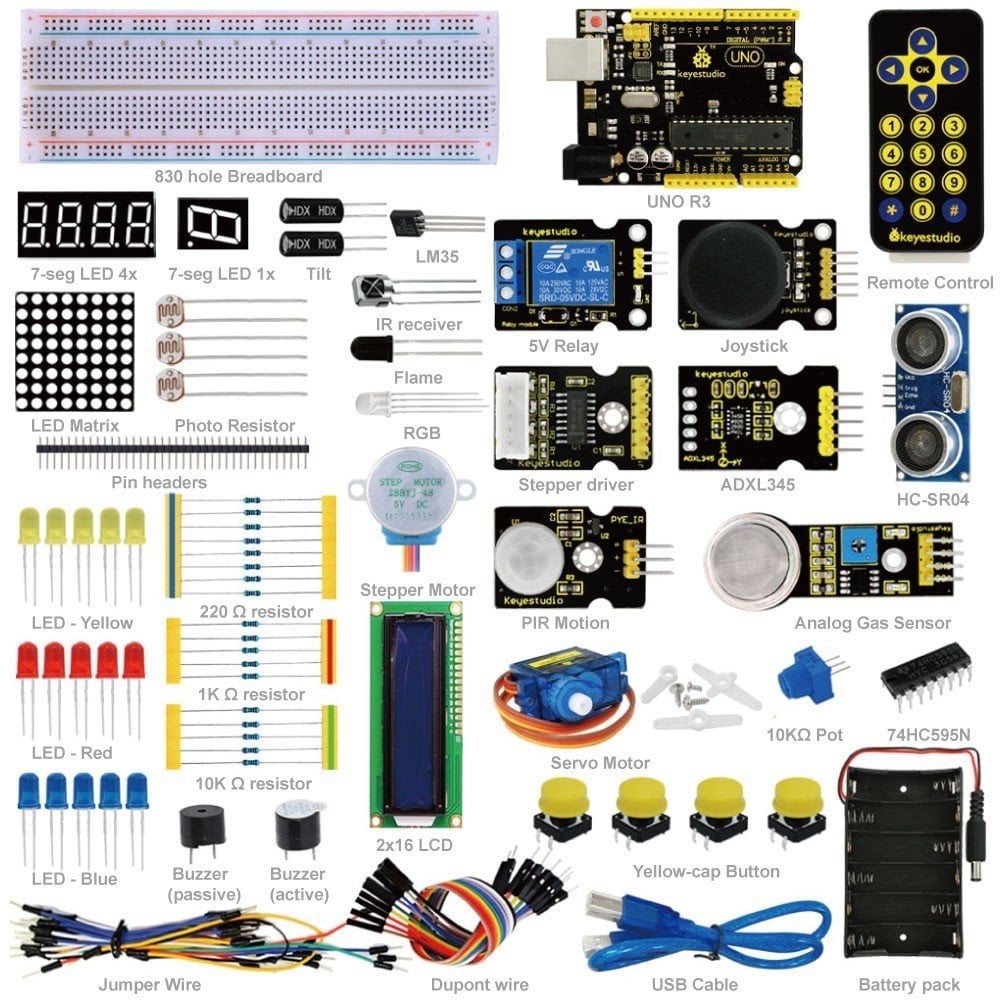
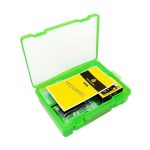
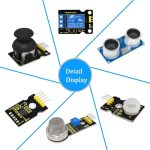
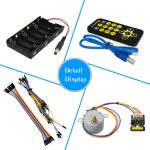
Arduino advanced study kit walks you through the basics of using the Arduino in a hands-on way. You’ll learn through building several creative projects. The kit includes a selection of the most common and useful electronic components with a book of 28 projects. Starting the basics of electronics, to more complex projects, the kit will help you control the physical world with sensor and actuators.
Bu gelişmiş Arduino çalışma seti, Aduino’yu uygulamalı olarak kullanma temelleri üzerinde size rehberlik edecektir. Birkaç yaratıcı proje inşa ederek öğreneceksiniz. Kit, 28 projeyle, en yaygın ve kullanışlı elektronik bileşenlerin bir seçimini içerir. Temelden başlayıp, daha karmaşık projelere ilerleyen kit, fiziksel dünyayı sensör ve aktüatörlerle algılayıp kontrol etmenize yardımcı olacaktır.
Introduction of keyestudio UNO R3 Board / keyestudio UNO R3 Denetleyici Tanıtımı

Overview / Genel Bakış
Keyestudio Uno r3 is a microcontroller board based on the ATmega328. It has 14 digital input/output pins (of which 6 can be used as PWM outputs), 6 analog inputs, a 16 MHz ceramic resonator, a USB connection, a power jack, an ICSP header, and a reset button. It contains everything needed to support the microcontroller; simply connect it to a computer with a USB cable or power it with a AC-to-DC adapter or battery to get started.
The Uno r3 differs from all preceding boards in that it does not use the FTDI USB-to-serial driver chip. Instead, it features the Atmega16U2 programmed as a USB-to-serial converter.
Parameters / Parametreler
- 1. Microcontroller core: AVRmega328P-PU ( Processing speed 20MIPS)
- 2. Working voltage: +5V
- 3. External input voltage:+7V~+12V(suggest)
- 4. External input voltage ( extremum ): +6V≤ Vin ≤ +20V
- 5. Digital signal I/O interface: 14 ( 6 PWM input interface)
- 6. Analog signal input interface: 6
- 7. DC I/O interface current: 40mA
- 8. Flash capacity: 32KB( other 2k used in hootloader)
- 9. SRAM static storage capacity
- 10. EEPROM storage capacity: 512bytes
- 11. Clock frequency:16MHZ
User / Kullanıcı
- 1 | Download the Arduino Environment
Get the latest version from the download page.
When the download finishes, unzip the downloaded file. Make sure to preserve the folder structure. Double-click the folder to open it. There should be a few files and sub-folders inside.
- 2 | Connect the Board
The Arduino Uno, Mega, Duemilanove and Arduino Nano automatically draw power from either the USB connection to the computer or an external power supply. If you’re using an Arduino Diecimila, you’ll need to make sure that the board is configured to draw power from the USB connection. The power source is selected with a jumper, a small piece of plastic that fits onto two of the three pins between the USB and power jacks. Check that it’s on the two pins closest to the USB port.
Connect the Arduino board to your computer using the USB cable. The green power LED (labelled PWR) should go on.
- 3 | Install the drivers
Installing drivers for the Arduino Uno or Arduino Mega 2560 with Windows 7, Vista, or XP:
Plug in your board and wait for Windows to begin it’s driver installation process. After a few moments, the process will fail, despite its best efforts Click on the Start Menu, and open up the Control Panel.
While in the Control Panel, navigate to System and Security. Next, click on System. Once the System window is up, open the Device Manager.
Look under Ports (COM & LPT). You should see an open port named “Arduino UNO (COMxx)”. If there is no COM & LPT section, look under “Other Devices” for “Unknown Device”.
Right click on the “Arduino UNO (COmxx)” port and choose the “Update Driver Software” option.
Next, choose the “Browse my computer for Driver software” option.
Finally, navigate to and select the driver file named “arduino.inf”, located in the “Drivers” folder of the Arduino Software download (not the “FTDI USB Drivers” sub-directory). If you are using an old version of the IDE (1.0.3 or older), choose the Uno driver file named “Arduino UNO.inf”
Windows will finish up the driver installation from there.
See also: step-by-step screenshots for installing the Uno under Windows XP. Installing drivers for the Arduino Duemilanove, Nano, or Diecimila with Windows7, Vista, or XP: When you connect the board, Windows should initiate the driver installation process (if you haven’t used the computer with an Arduino board before). On Windows Vista, the driver should be automatically downloaded and installed. (Really, it works!) On Windows XP, the Add New Hardware wizard will open: When asked Can Windows connect to Windows Update to search for software? select No, not this time. Click next. Select Install from a list or specified location (Advanced) and click next. Make sure that Search for the best driver in these locations is checked; uncheck Search removable media; check Include this location in the search and browse to the drivers/FTDI USB Drivers directory of the Arduino distribution. (The latest version of the drivers can be found on the FTDI website.) Click next. The wizard will search for the driver and then tell you that a “USB Serial Converter” was found. Click finish. The new hardware wizard will appear again. Go through the same steps and select the same options and location to search. This time, a “USB Serial Port” will be found. You can check that the drivers have been installed by opening the Windows Device Mananger (in the Hardware tab of System control panel). Look for a “USB Serial Port” in the Ports section; that’s the Arduino board.
- 4 | Launch the Arduino application
Double-click the Arduino application. (Note: if the Arduino software loads in the wrong language, you can change it in the preferences dialog. See the environment page for details.)
- 5 | Open the blink example
Open the LED blink example sketch: File > Examples > 1.Basics > Blink.
- 6 | Select your board
You’ll need to select the entry in the Tools > Board menu that corresponds to your Arduino.
Selecting an Arduino Uno
For Duemilanove Arduino boards with an ATmega328 (check the text on the chip on the board), select Arduino Duemilanove or Nano w/ ATmega328. Previously, Arduino boards came with an ATmega168; for those, select Arduino Diecimila, Duemilanove, or Nano w/ ATmega168. (Details of the board menu entries are available on the environment page.)
- 7 | Select your serial port
Select the serial device of the Arduino board from the Tools | Serial Port menu. This is likely to be COM3 or higher (COM1and COM2 are usually reserved for hardware serial ports). To find out, you can disconnect your Arduino board and re-open the menu; the entry that disappears should be the Arduino board. Reconnect the board and select that serial port.
- 8 | Upload the program
Now, simply click the “Upload” button in the environment. Wait a few seconds – you should see the RX and TX leds on the board flashing. If the upload is successful, the message “Done uploading.” will appear in the status bar. (Note: If you have an Arduino Mini, NG, or other board, you’ll need to physically present the reset button on the board immediately before pressing the upload button.)
A few seconds after the upload finishes, you should see the pin 13 (L) LED on the board start to blink (in orange). If it does, congratulations! You’ve gotten Arduino up-and-running. If you have problems, please see the troubleshooting suggestions. You might also want to look at: the examples for using various sensors and actuators the reference for the Arduino language The text of the Arduino getting started guide is licensed under a Creative Commons Attribution-ShareAlike 3.0 License. Code samples in the guide are released into the public domain.
Components List / Bileşenler Listesi
| No. | Product Name | Quantity | Picture |
|---|---|---|---|
| 1 | LED – Blue | 5 |
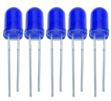 |
| 2 | LED – Red | 5 | 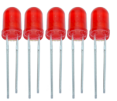 |
| 3 | LED – Yellow | 5 | 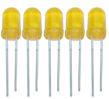 |
| 4 | LED – RGB | 1 | 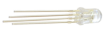 |
| 5 | 220 ? resistor | 8 |  |
| 6 | 10K ? resistor | 5 |  |
| 7 | 1K ? resistor | 5 | 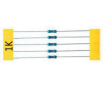 |
| 8 | 10K ? Pot | 1 |  |
| 9 | Buzzer (active) | 1 |  |
| 10 | Buzzer (passive) | 1 |  |
| 11 | Large button switch | 4 | 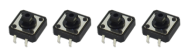 |
| 12 | Ball tilt sensor | 2 |  |
| 13 | Photo Resistor | 3 | 
İlgili Ürünler
Giriş Yap
Henüz hesabınız yok mu? Bir Hesap Oluşturun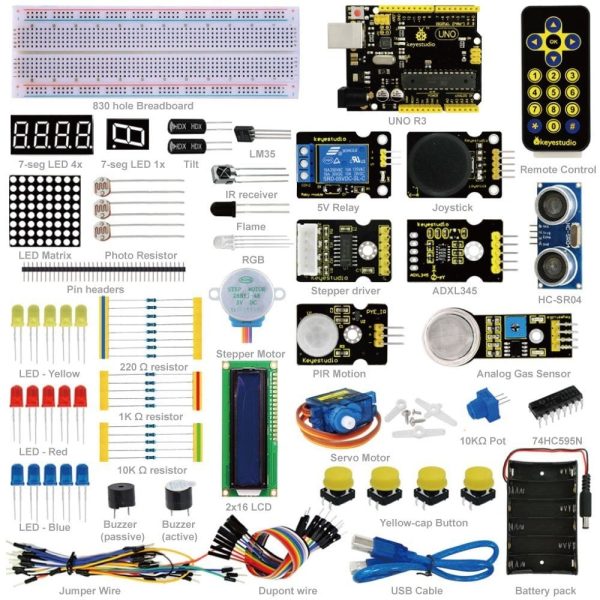 Keyestudio Gelişmiş Çalışma Seti (UNO R3 ile)
1.977₺
Stokta |



Değerlendirmeler
Filtreyi TemizleHenüz değerlendirme yapılmadı.